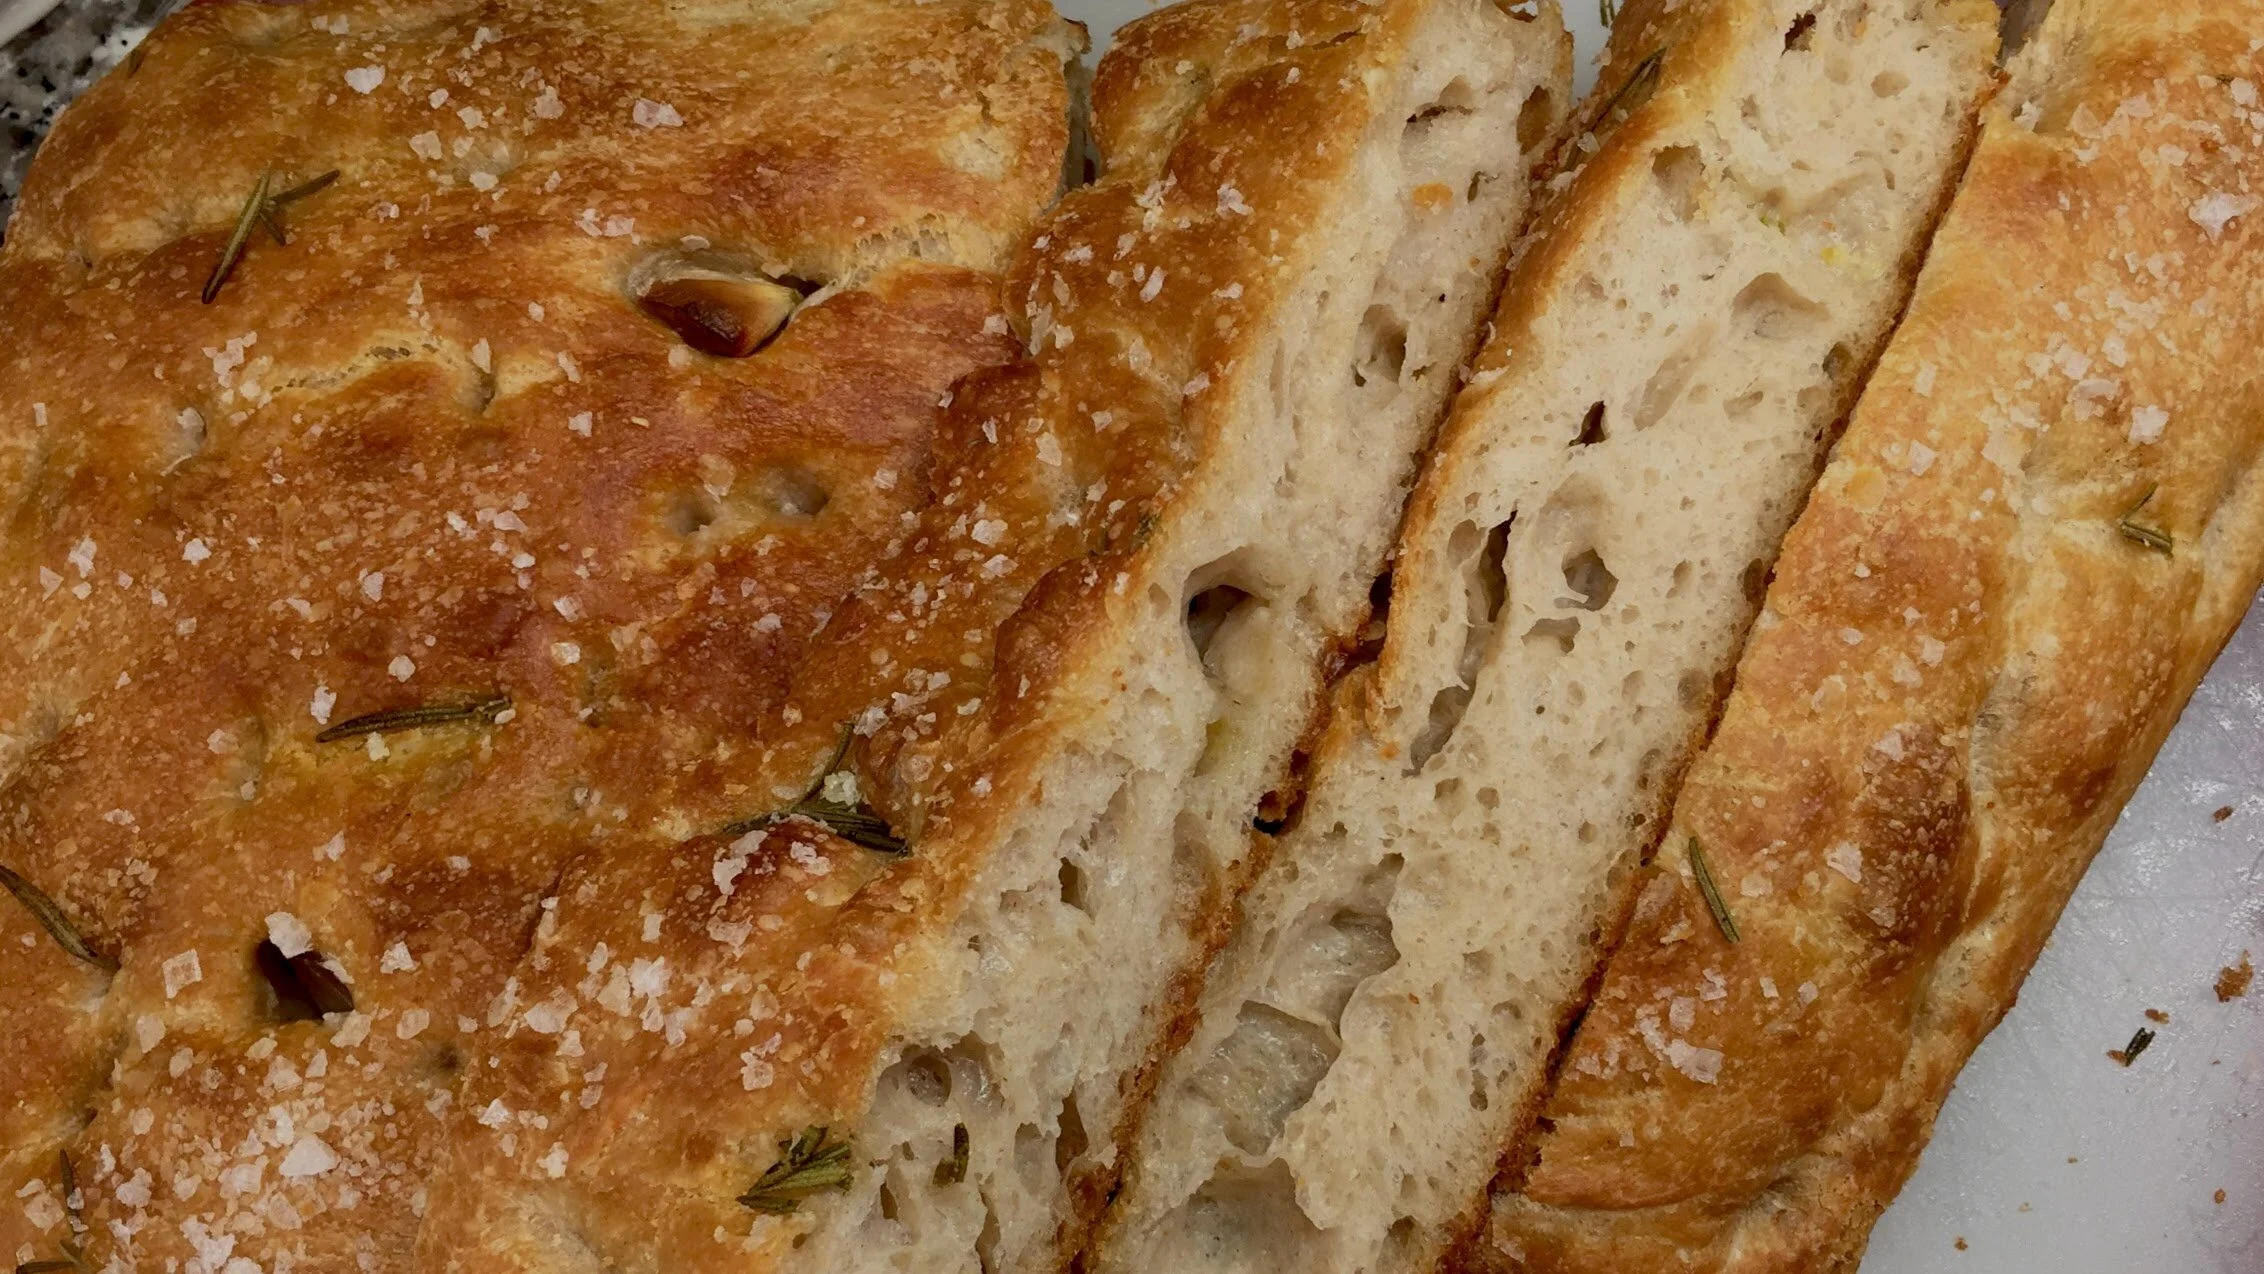
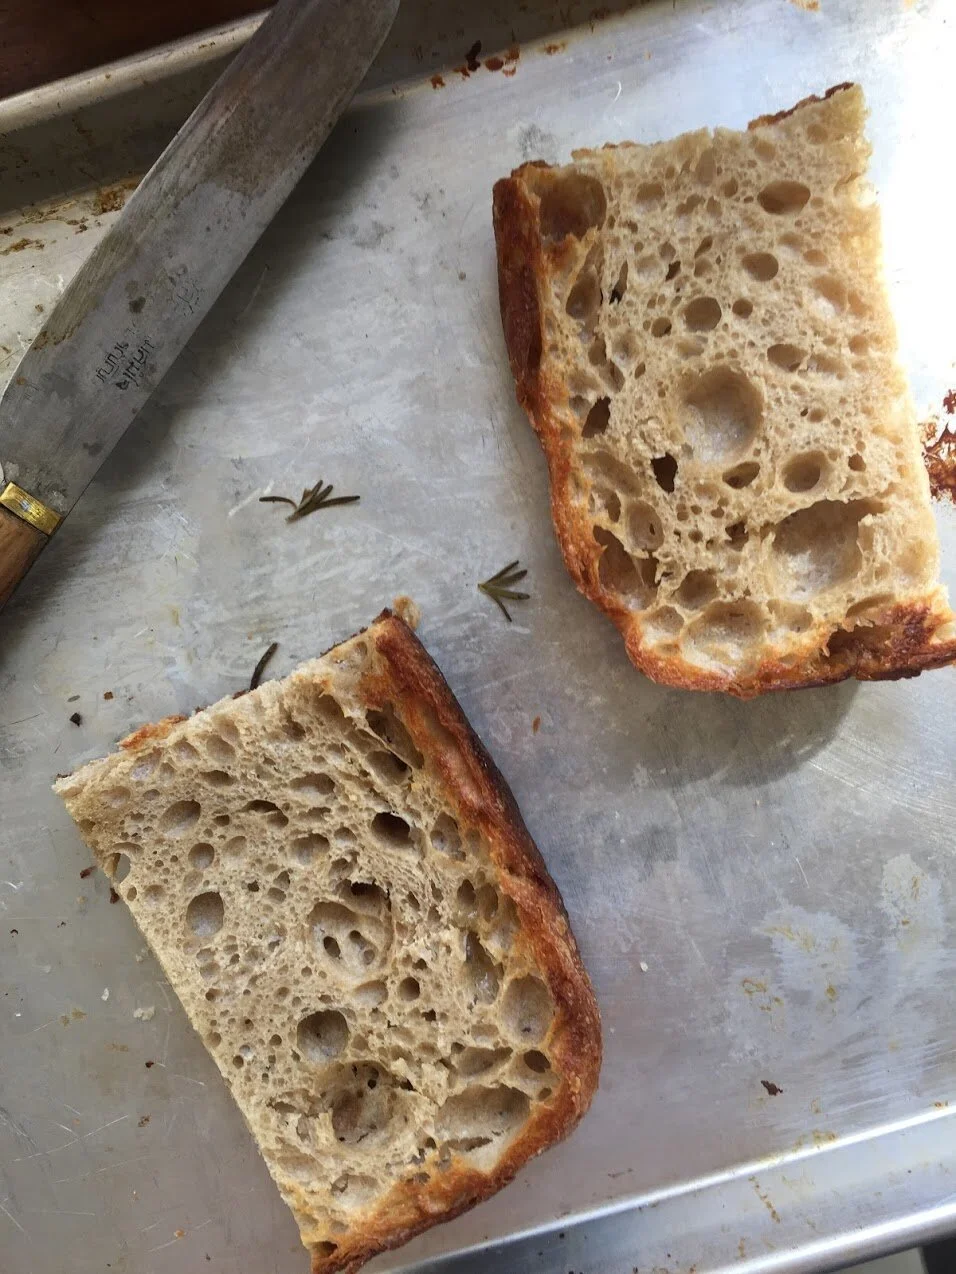
Hannah's Focaccia
Focaccia is possibly the most perfect bread! Have you ever thought about it? Perfect for eating as the main thing because it is really flavorful and versatile (change up the toppings however you like!) But also… it’s magnificent sandwich bread. Enough folks have asked me about my focaccia recipe, and you know what? I’m happy to share.
Yield: Two 9x13” loaves of focaccia, or one entire half-sheet pan of focaccia.
As a side note, this is leavened with my sourdough starter! If you haven’t created a starter during this quarantine/global pandemic, what are you even doing? There’s still time. I recommend this article by the Kitchn all about making a sourdough starter. If you’re nervous about using a starter, and MUST use dry yeast or cake yeast, send me an email hannah.marie.nelson@gmail.com and we can discuss the conversion.
Ingredients: okay all I’m going to say here is that focaccia is a really simple bread, and if you want it to taste great, USE GREAT INGREDIENTS PLEASE.
Levain Build:
50g 100% hydration Sourdough Starter
150g bread flour
150g water
Final Dough Mix:
900g water
350g Levain
1000g Bread Flour
24g kosher salt
Finishing Salt
75g Olive Oil, Plus More for Baking
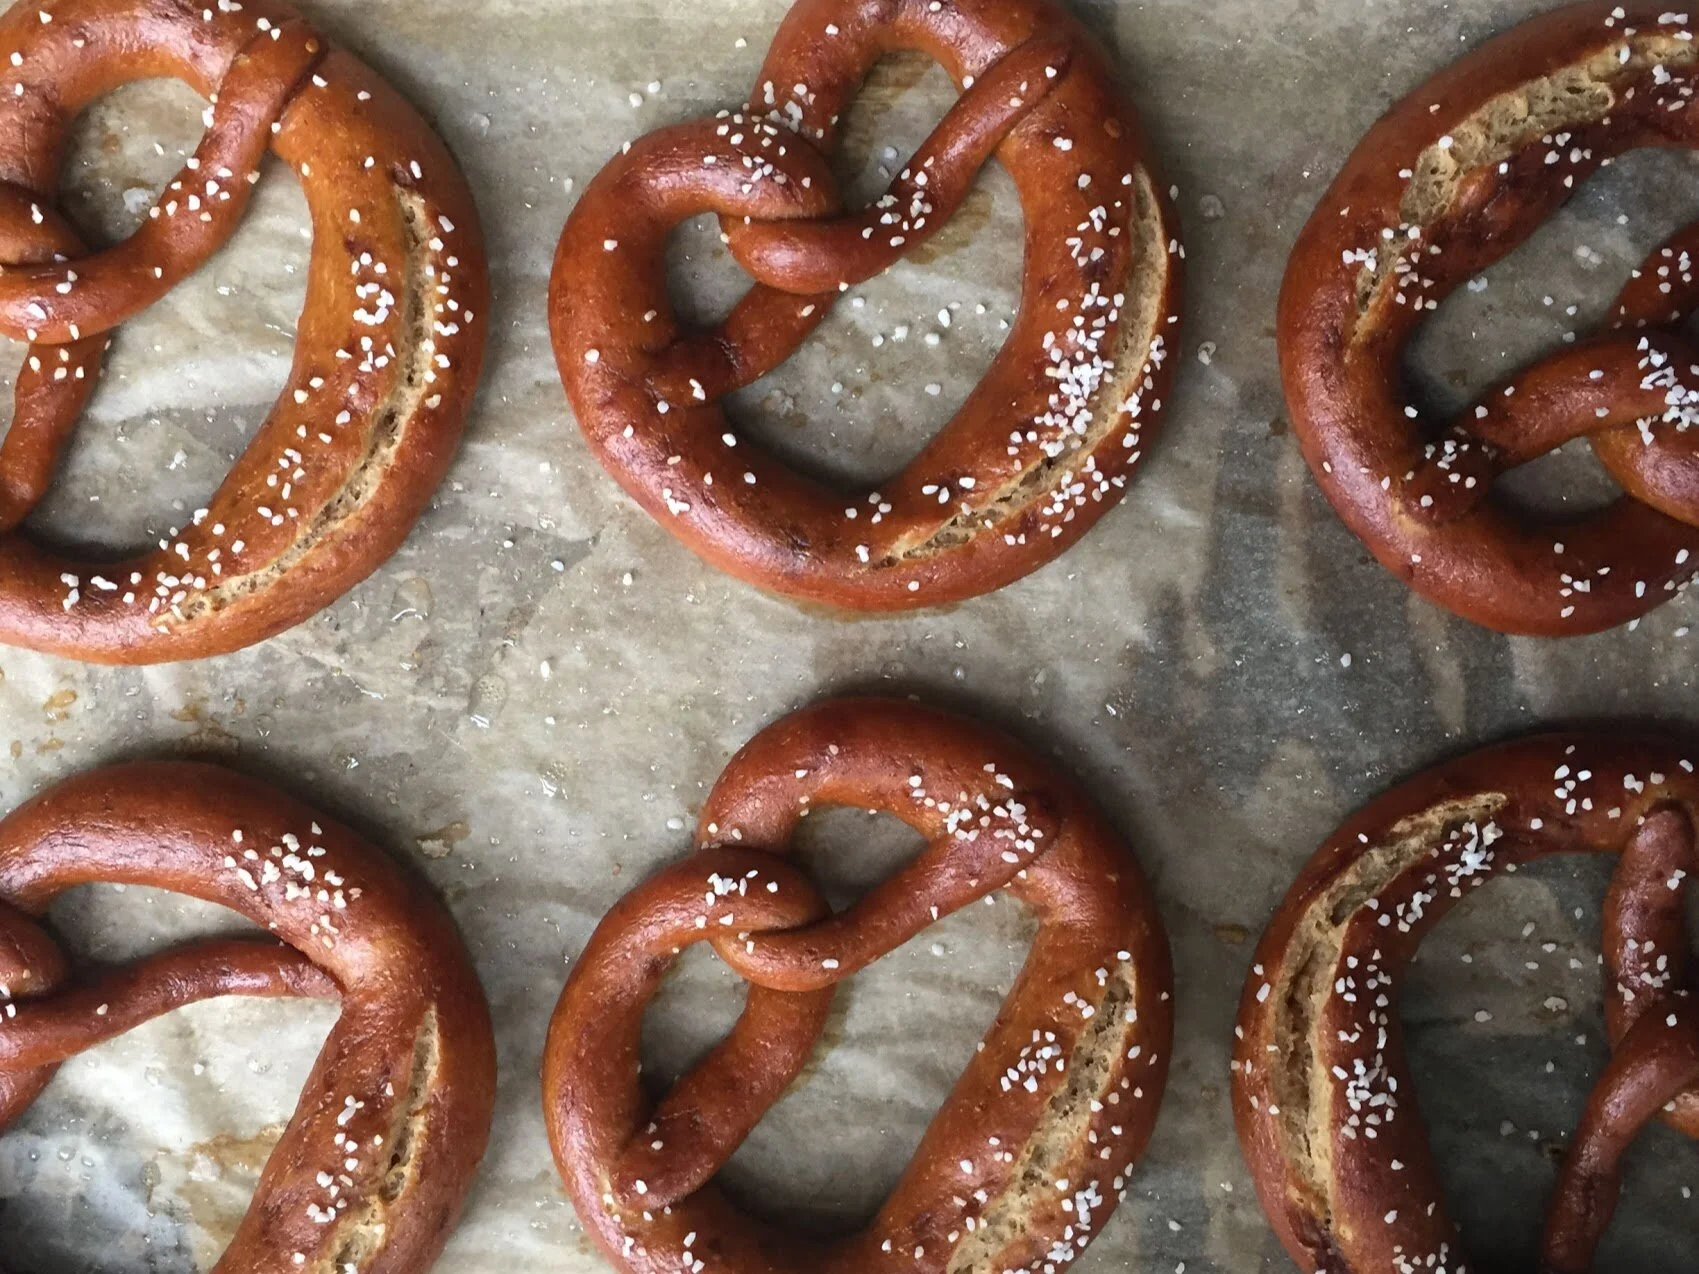
Toppings: I like to use whatever I have on hand. So, basically, every time I make focaccia, I top it with Maldon Salt, cloves of garlic and rosemary from the garden. But some of my favorite toppings include: cherry tomatoes, pitted olives, shallots… the list goes on, really. But the rosemary and garlic is exquisite, and that’s why I make it at home almost every week.

STEP ONE: Feed the Levain. Make sure you’re using active, happy starter (I usually feed my starter twice at 12 hour intervals before using it for levain.)
STEP TWO: Mix the Dough. After the Levain has doubled in size, or floats in water (between 4-10 hours usually depending on many variables) then it is ready to use for the dough. Fill a bowl with 900g warm water, and add the levain. Break apart with spoon, spatula, or use your hands to swirl it around (the levain does not need to completely dissolve. After the levain is in the water, add all 1000g of bread flour and stir to combine (I use my hands for this, but it will work with a spatula or wooden spoon.)
STEP THREE: Autolyse. The autolyse is a resting period after all of the flour and water for the dough have been combined. Let the dough rest for at least 30 minutes, or up to 2 hours. You don’t want to see the dough rising just yet, but what you’re looking for is for the lumps in the mixture to start to smooth out.
STEP FOUR: Add Salt and Oil. Add kosher salt and Olive Oil to the dough. Fold to incorporate. I normally grab the dough by one side of the bowl and fold it over the center. Then I’ll do the same across the opposite side of the bowl, and fold over the top of my previous fold. Then, I’ll do the same with the remaining two corners of the dough, and repeat just a couple of times until the salt and oil seem somewhat incorporated (it doesn’t need to be thorough.)
STEP FIVE: Bulk Fermentation. Now you have entered the period of bulk fermentation. Fold each corner of the dough every 30 minutes or so for about 3 hours. You can also fold by picking up the entire ball of dough and allowing the top and bottom flaps to fold underneath, and then repeat with other corners. After a couple of hours, evaluate and see if the dough seems to be really perky and elastic and read to rest. If the dough is starting to rise quite a lot, shorten this period or work quickly to get dough into the refrigerator. Every kitchen is different, so this is something that you learn by doing. Reference the Kitchn Article for a great visual aid on bulk fermenting sourdough breads.
STEP SIX: Rest. After Bulk Fermentation, let the dough rest untouched for about 10-15 minutes.
STEP SEVEN: Divide and Prepare Pans. Divide the dough in half, if using 9x13 pans, and place on an oiled surface. If you are baking on a sheet pan, skip this step. Pick up the entire piece(s) of dough, and let the ends at the top and bottom roll and fold underneath. Do this same action for the other corners of the dough. Prepare the pan(s) that you will bake in by drizzling them generously with olive oil.
STEP EIGHT: Proof the dough. Stretch and place the dough in the oiled baking pans to proof. Then, drizzle the top with a bit of olive oil. Cover with bread towel and proof at room temperature for 3-4 hours, or proof in the fridge for 8-12 hours.
STEP NINE: Heat Oven. About 30 minutes before baking, turn on the oven and preheat oven to 450.
STEP TEN: Dimple and Add Toppings. Make sure the dough reaches each corner of the baking pan, and add extra olive oil anywhere that the dough seems to be sticking. Coat the top with Olive Oil. Fill a small bowl with water to dip your fingers in before dimpling the dough. Dip your hands into the water, and then sink your fingers into the dough. Alternate between water bowl and dimpling dough, working from the top down. Add toppings, and really sink them into the dough. Feel free to dimple entire dough again after adding toppings. After dimpling, top with Coarse Sea salt.
STEP ELEVEN: BAKE. Bake loave(s) at 450 fahrenheit for 15 minutes. Then, reduce heat to 425 degrees and bake for another 15-40 minutes, until the bread is a deep golden brown and registers and internal temperature of at least 200 degrees fahrenheit.